(Link-fix) Tags: Visual edit apiedit |
m (Removed k before will) Tag: Visual edit |
||
| Line 20: | Line 20: | ||
====Beacon D==== |
====Beacon D==== |
||
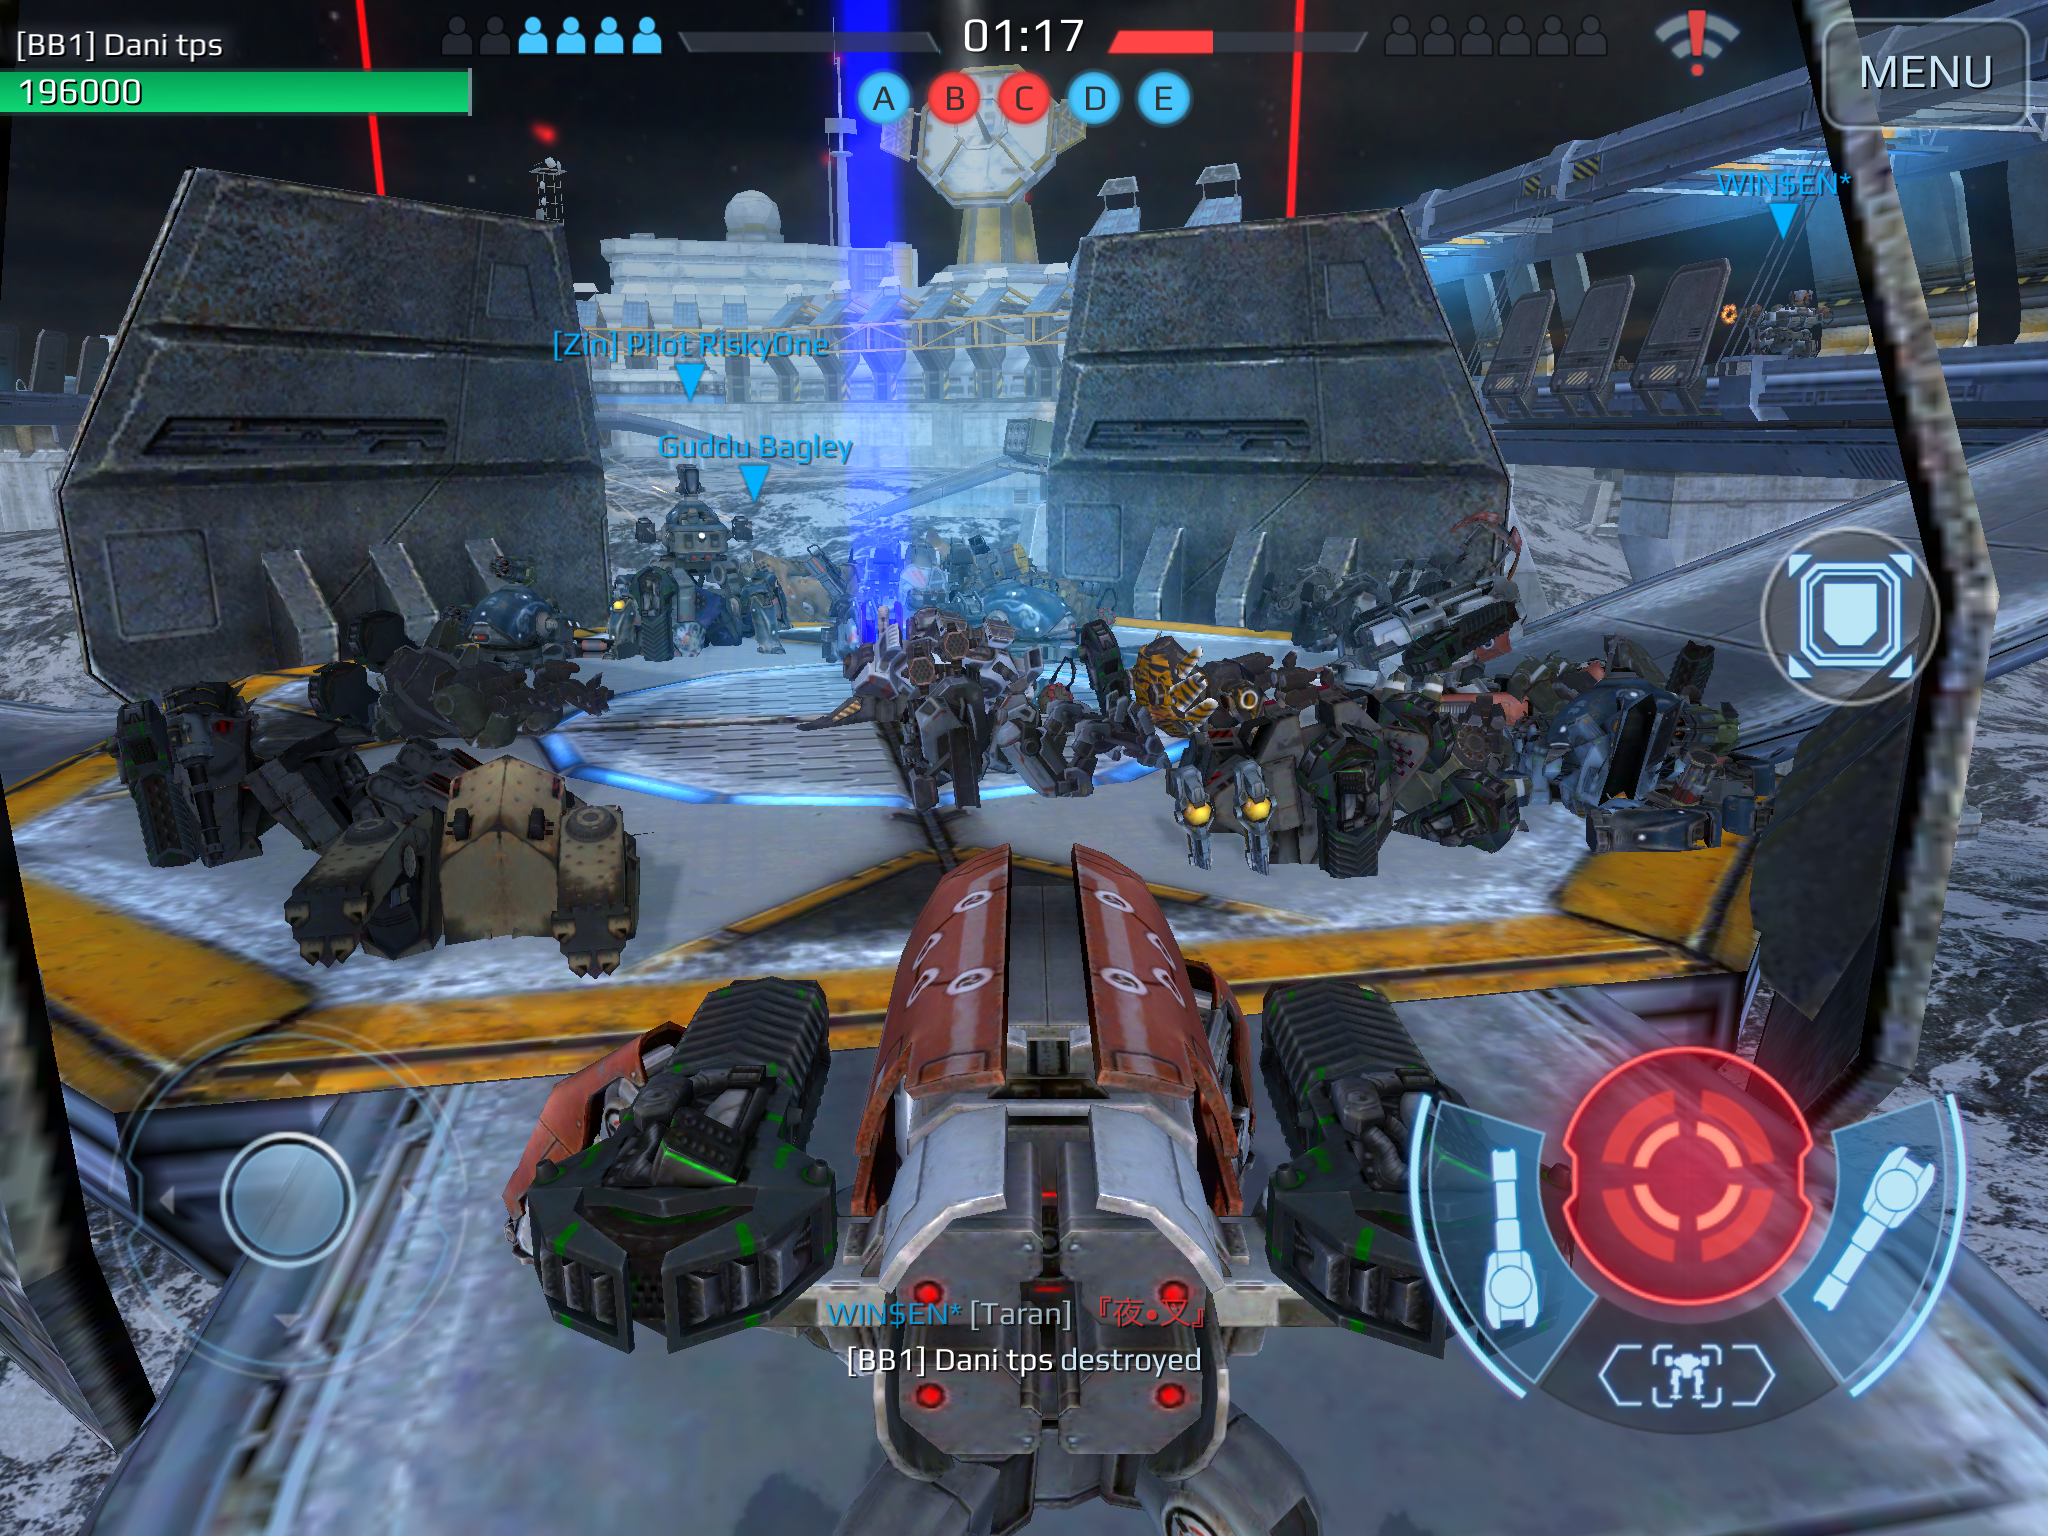
[[File:IMG 0720.PNG|thumb|220x220px|The carnage that can occur at beacon D]] |
[[File:IMG 0720.PNG|thumb|220x220px|The carnage that can occur at beacon D]] |
||
| − | Beacon D is generally the most hotly-contested beacon in the map. Whichever team can seize and successfully control D will generally be able to claim victory. However, the battle for D is often a very dynamic battle. If a team holding D is made up of some close-range knifefighters, they |
+ | Beacon D is generally the most hotly-contested beacon in the map. Whichever team can seize and successfully control D will generally be able to claim victory. However, the battle for D is often a very dynamic battle. If a team holding D is made up of some close-range knifefighters, they will be able to damage any enemy robots advancing on the ramp towards the beacon. Not only will they be able to use the cover that the central building provides against artillery, but it can also allow a vantage point to look down on the enemy. In addition, you can lure an enemy not oriented for close-combat up the ramp and make short work of them with [[Taran|Tarans]] or [[Thunder|<nowiki/>]][[Thunders]]. |
On the other hand, it is often at D where snipers can shine. Because enemy robots must advance up the ramp to reach the enclosed "shields" protecting D, they must walk through the entry-way. This allows snipers looking down from their platforms easy targets to knock out or at the least immobilize their enemies. Robots with [[Spiral|Spirals]] or [[Aphid|Aphids]] lurking on the other ramp can fire their rockets which will automatically home in on their targets, damaging them significantly. A well integrated defense for D doesn't require any close-range robots to be at the top; it simply requires several snipers to shoot once the enemy is in the open and for Spirals and Aphids to weaken them. It can be a killzone for lone robots, even a well-upgraded [[Lancelot]] or [[Leo]] won't be able to stand up to so much fire from so many directions and so many [[weapons]]. |
On the other hand, it is often at D where snipers can shine. Because enemy robots must advance up the ramp to reach the enclosed "shields" protecting D, they must walk through the entry-way. This allows snipers looking down from their platforms easy targets to knock out or at the least immobilize their enemies. Robots with [[Spiral|Spirals]] or [[Aphid|Aphids]] lurking on the other ramp can fire their rockets which will automatically home in on their targets, damaging them significantly. A well integrated defense for D doesn't require any close-range robots to be at the top; it simply requires several snipers to shoot once the enemy is in the open and for Spirals and Aphids to weaken them. It can be a killzone for lone robots, even a well-upgraded [[Lancelot]] or [[Leo]] won't be able to stand up to so much fire from so many directions and so many [[weapons]]. |
||
Revision as of 23:19, 20 February 2018
| THIS PAGE HAS BEEN LOCKED ONLY REGISTERED MEMBERS MAY ADD CONTENT TO THIS PAGE |  |
Yamantau (Map)

Old version of Yamantau; next to Beacon B
Yamanatau is a large open-air, snowy map with many bridges, a central platform, and two large sniping platforms based in each spawn point. Like the other maps, Yamantau features a total of five Beacons. One beacon is located directly in front of each spawn point (E or C), while another beacon is located several hundred meters away from each spawn point (A or B). The final beacon, D, is located in the Center of the map on a raised platform that is accessible by four ramps. Two of the ramps come up to the platform from ground level while the other two ramps come down to the platform from bridges that connect the two spawn points. Each ramp ends at large opening, while the platform is shielded on four sides between the ramp entrances.


overview of a battle in Yamantau
Because of the scarcity of cover, long-range artillery such as Trebuchet or Gekko can heavily damage any Robots moving towards either sniping platform or the central beacon. However, if there are large clusters of robots stationed at the central platform it will be extremely difficult for the enemy team to seize it, even in large numbers. This map is excellent for either sniper fire, or Molot, Trident and Tulumbas usage. However, decent knife-fighting force is still required to seize up center beacon.
Beacons
Beacon C
Beacon C is located directly in front of the spawn point featuring a large gun turret. It is nearly impossible for the enemy to capture due its position directly in the spawn point. There is plentiful cover in the form of several turrets which are ideal positions for snipers.
Beacon B
Beacon B is located to the left of the spawn point of players at C. While difficult for the enemy team to capture, it is not uncommon for ambitious pilots, usually in Cossacks, to seize B.
Beacon E
Beacon E shares a similar position to that of C for the other team's spawn point. It to is ideal for snipers because of an abundance of cover in the form of several assorted buildings and a gun turret.
Beacon A
Beacon A is in the same postion of B relative to the E spawn point. It shares similar characteristics to B in that it can be captured while sheltering below it to avoid enemy fire.
Beacon D

The carnage that can occur at beacon D
Beacon D is generally the most hotly-contested beacon in the map. Whichever team can seize and successfully control D will generally be able to claim victory. However, the battle for D is often a very dynamic battle. If a team holding D is made up of some close-range knifefighters, they will be able to damage any enemy robots advancing on the ramp towards the beacon. Not only will they be able to use the cover that the central building provides against artillery, but it can also allow a vantage point to look down on the enemy. In addition, you can lure an enemy not oriented for close-combat up the ramp and make short work of them with Tarans or Thunders.
On the other hand, it is often at D where snipers can shine. Because enemy robots must advance up the ramp to reach the enclosed "shields" protecting D, they must walk through the entry-way. This allows snipers looking down from their platforms easy targets to knock out or at the least immobilize their enemies. Robots with Spirals or Aphids lurking on the other ramp can fire their rockets which will automatically home in on their targets, damaging them significantly. A well integrated defense for D doesn't require any close-range robots to be at the top; it simply requires several snipers to shoot once the enemy is in the open and for Spirals and Aphids to weaken them. It can be a killzone for lone robots, even a well-upgraded Lancelot or Leo won't be able to stand up to so much fire from so many directions and so many weapons.
General Tactics
The map's dynamic terrain means that a variety of mechs will be needed. The map is definitely oriented for snipers, as they will be able to slug it out with enemy artillery, or knock out robots advancing from the ramps. On the other hand, mechs equipped with medium-range weapons, namely Molots or Tulumbas\Pins, or even Spiral can be vital. While D may offer protection as long as mechs stay within the sloped "shields" of the structure, the large AOE from Pins can do heavy damage, while experienced Spiral gunners will be able to guide their missiles around the "shields" to hit the enemy robots; Molots can provide barrage of fire, not letting enemy robots show itself and shoot. Finally, close-range mechs, while seemingly useless, can be vital for the team. A single knifefighter stationed at D with Taran, Orkan, Pinata or Thunder will be able to heavily damage or destroy mechs advancing on the ramps while staying in the relative safety of the "shields". In addition, robots with Aphids will be able to hurl their projectiles at enemy pilots advancing on the ramps while staying on their own ramp which will offer protection from all but missiles and rockets. Therefore, a team made up of snipers, medium-range fighters, and knifefighters holding and controlling D and its ramp access ways will be able to win relatively easily.
Snipers are quite deadly on this map, and it is unarguably the best map to use them. They can pick off bots from a great distance and deal with the snipers on the other team, drawing their attention away from the very vulnerable knife-fighters.
Trivia
- Yamantau is based on an actual location in the Ural Mountains, Bashkortostan, Russia. The name means wicked mountain in the Bashkir language. It is also known as Mount Yamantaw. It stands at 1,640 metres and is the highest mountain in the southern Urals.
- Formerly, Yamantau was set in the daytime. However, along with the redesign of the map, the time was set to night.
- Map was heavily redesigned in early 2017, namely - bridge shield were raised, beacon locations adjusted and center was moved to be in exact middle of a map (formerly one side with spawn location being located closer to center was at advantage)