| THIS IS A COMMUNITY PAGE IT IS OPEN TO EDITS FROM ANYONE |  |
Being primarily an area control game, War Robots requires a team with a good mix of robots in order to win. Capturing beacons and defending beacons require different setups. Unless you are lucky enough to kill the entire red team, having a full team of heavy hitters (or long range snipers) won't win you the match if you can't get to the beacons before the timer runs out. Robots that are setup for a particular role (e.g. all close range, heavy-damaging weapons) generally function better than a robot setup with weapons designed for different purposes (e.g. two close range and one long range weapon). Be a specialist, it works well in War Robots.
While not an exhaustive list, here are the main roles typically found on a good team.
Note: This page is outdated. It is currently being edited to match the current meta. The advice below is currently best suited for players in Diamond League and below.
Combat Roles[]
Beacon Capper[]
Typical Stalker Beacon Runner
These are your typical light and fast 'bots. The reason these 'bots have such high speed is primarily for capping beacons. You may want to leave the knife fighting to the mediums and heavy 'bots on your team. Typical beacon capper 'bots in the lower leagues include: Cossack, Stalker, and Gareth. In Champion league, the best beacon cappers include: Loki, Phantom, Strider, Raven, and sometimes Kumiho.
Due to the low HP of the 'bot, it would be best to try to avoid as much enemy fire as possible. You can also attach defensive equipment such as an Ecu to help increase the durability of your 'bot so that it can take some fire while still being able to cap a beacon. Since beacon cappers do not usually have a large amount of firepower if they have equipped an Ecu, a tip while using an Ecu shield is to try to keep the shield facing the enemy. This way, if reds start shooting at you, your shield will already be positioned and you can keep running.
Do not hesitate to eject from your beacon capper and join the melee with a knife fighter if you team is ahead in beacon count (3 blue) and beacon bar.
Cappers rely on speed and elusiveness, so of course they do not require heavily offensive weapons. However, they do need to be able to defend themselves in close combat when enemies attempt to recapture a recently capped beacon.
Capper weapons include:
Specializations:
- Flanker: Responsible for turning the red remote beacon blue, provides flank fire on shield 'bots. E.g.: Magnum Stalker, Plasma Gareth,
- Runner: Turns enemy's home beacon blue whenever possible, camps at spawn. E.g.: Magnum Gepard, PDB Rhino, Loki
- Centre: Caps and holds centre beacon and skirmishes enemy lines to draw fire and divert attention. E.g.: Aphid Gepard, Plasmahad, Phantom
Knife Fighter or Brawler[]
Knife Fighter or close range brawlers fight with weapons designed to do large amounts of damage at close quarters, generally within a range of 350 meters. Their role is to simply fight enemy robots at close range and push into enemy territory. These "soldiers" are arguably the most important role in the entire game, as they are in the front line taking the force of the enemy team.
Knife fighters come in three subgroups:
Soldier- Typical knife fighter for front line offense. Soldiers can deal large amounts of damage while survive for a long period of time. They come equipped with Magnums, Tarans, Orkans , and Pinatas. These include DB Griffins and Plasma Rhinos . Usually have high durability and mediocre speed. In Champion league, recommended robots include, but not limited to, are: Fenrir, Leech, Ravana, Ao Jun, Hawk
Ambusher/Hit and Run- Knife fighter which engages enemies in a more guerrilla warfare style. Hit and Run knife fighters come equipped with Pinatas , Thunders, and Aphids, all of which deal damage quickly. These robots ambush opponents, moving out of cover only to fire their weapons before quickly retreating. Hit and Run 'bots include Thunder Carnage and Aphid Gepard . Usually have mediocre durability and high speed, therefore making light and some medium robots a good choice. Recommended robots for Champion league include Scorpion, Phantom, Blitz
Defender- This type of brawler sacrifices even more movement speed for significantly increased durability and firepower at close range. Defenders are usually deployed to defend vital beacons or paths on various maps. Most Defenders have enough firepower to rapidly destroy their opponents or enough health to simply outlast them. They are most effective in Beacon Rush , but also perform well in other game-modes. Robots normally used as Defenders include the Raijin, Fujin , Boa and Natasha equipped with Thunders, Tarans, Orkans and Gusts, as well as other close-range weapons such as the Pinata and Ember . The best defenders in Champion league include Falcon(especially with the Traditionalist skill), Bulwark, and Invader
Many robots are used as knife fighters. These include light robots Gepard and Stalker, and medium weight robots such as Vityaz, Golem, Gl. Patton, or Boa. The light 'bots are agile and can use their speed advantage to circle slower robots. Medium 'bots are slightly more durable than the light 'bots, which allows them to 'both absorb and dish out more damage while keeping those enemy 'bots away from stealing your team's beacons. Heavy 'bots are also very popular, particularly the Rhino and Griffin, because of their high health and armament. Other typical heavy knife fighters include the Leo , Lancelot and Raijin .
Knife fighting weapons include:
- Light: Magnum, Pinata, Aphid, Rime, Spark, Blaze, Halo, Gust, Quarker
- Medium: Orkan, Taran, Vortex, Cryo, Atomizer, Scourge, Storm, Igniter
Specialisations:
- Power Runner: Well armored evolutions of cappers in higher tiers. E.g.: Taran Rogatka, PDB Rhino, Ravana, Blitz
- Tank: Heavily armored and equipped, holding crucial ground. E.g.: Thunder/Pinata Leo, Thunder Raijin, Fenrir, Phantom, Falcon
- Jack of all stats: Well rounded fighter that does a bit of everything. E.g.: Aphid Patton, PDB Galahad, Hawk
- Glass Cannon: Offensive 'bot that sacrifices armor for firepower. E.g.: Thunder Carnage, PDB Griffin, Ares, Leech, Scorpion
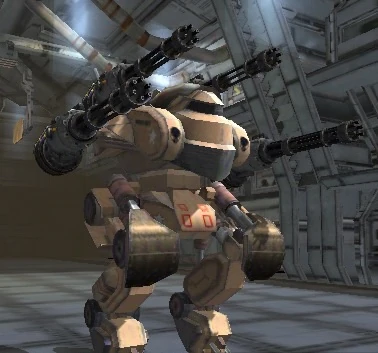
Mid-Range Support[]

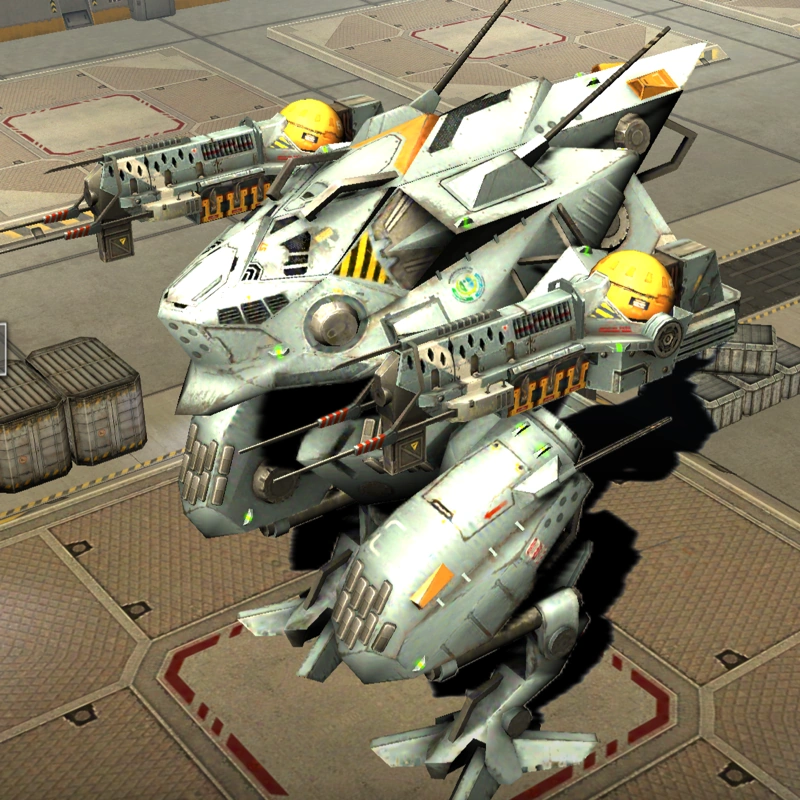
Golem midrange support bot
Mid Range Support robots are for aiding their fellow knife fighters in battle. Support 'bots are responsible for many roles including flushing out enemy robots, suppressing the enemy team, chipping health off of enemy robots, and finishing off low health robots. Arguably support 'bots fill the second most important role in the game.
When using a mid range support 'bot, be sure to always stay at least 400 meters away from knife fighters. This way you can best utilize your longer range weapons while staying out of range of enemy fire. It usually isn't recommended to rush people unless they're on low health and you can take them out with one burst. Typical mid range weapons include the Pin, Tulumbas, Trident, Zeus, Molot, Molot T, Tempest and, though not recommended for general use, Spirals, Hydras, and Chimera. You can use longer range weapons as mid range support weapons, though they are usually not as effective. Great mid range weapons include: Marquess, Hussar, Dragoon, Pulsar, Viper, and Wasp.
Despite what some may say, mid range support contains some of the most fearsome robots in the battle field, including the RDB Griffin and the Triple Trident Fury. These robots can easily destroy powerful knife fighters all while from a relatively safe distance. However, it is important to note that mid range support rely on the protection of friendly knife fighters to perform well, so it is important that no more than three pilots be in support bots at a time.
If you notice that the spawn is being rushed or you're low on beacons, switch to a knife fighter.
Support weapons include:
- Light: Pin, Spiral, Molot, Marquess, Spark, Volt
- Medium: Tulumbas, Hydra, Molot T, Ion, Shocktrain, Weber, Wasp, Pulsar
- Heavy: Trident, Zeus, Tempest, Chimera, Viper, Dragoon, Avalanche
Specialisations:
- Archer: Uses arc to fire over cover, delivering concentrated pressure on strong enemies. E.g.: Hydra Fujin, Spydra Griffin
- Gunner: Keeps enemy heads down and out of action. E.g.: Zeus Fury, Zeus Carnage, Molot Griffin, Molot T Fujin, Zeus Raijin, Scourge/Spark builds, Pulsars
- Rocketeer: Cripples shielded 'bots and controls choke points. E.g.: Trident Fury, RDB Griffin, Tulu Doc
Long Range Support[]
Long range support has a similar role with mid range support, but the key distinction between the two is that a LRS' role is map control. LRS players must be able to understand the flow of the battlefield and target enemy 'bots accordingly. They must see which enemy robots will be trouble and kill or weaken them. Finding a good spot to survey the whole map and have numerous clear shots at troublesome enemies is essential.
Don't be too aggressive or fire at the first target you see. Instead, be continuously identifying the highest threat(s) on the battlefield and keep chipping at their health. Do not forget to recapture your home beacons!
Also, know when to ditch your sniper 'bot. A Trebuchet Fury is useless when there are Rhinos and/or enemy knife fighters pushing into spawn, or when your teammates are doing suicide charges to maintain/take the middle beacon. Here's when to eject from a sniping 'bot into a more useful 'bot:
1. When there is one or more sniper on your team, eject into something else.
2. When enemy bots are charging into your territory and your team needs more firepower, eject into a heavy knife fighter.
3. When you haven't shot a single salvo for a couple minutes, the enemy team is probably staying out of your fire lanes. Eject into a more useful bot.
4. When you see a tough enemy bot sneaking around your territory and capping beacons, it can make sense to eject into a fast knife fighter or support bot, depending on your team's current balance.
Due to the long reload times, do not just shoot at the first enemy you see. First, look to see where the beacon cappers are, as you are probably the only member on your team with any shot to damage them early on. Next, check which bot is giving or expected to give your close range teammates a hard time near beacons they are attacking or defending. Is it a Stalker? An exposed Rhino?
Note that chipping away health from a Rhino shield is a futile action, and shooting other snipers or artillery bots is completely useless since they are less important and none of your teammates will probably be near enough to them to finish them off anyway.
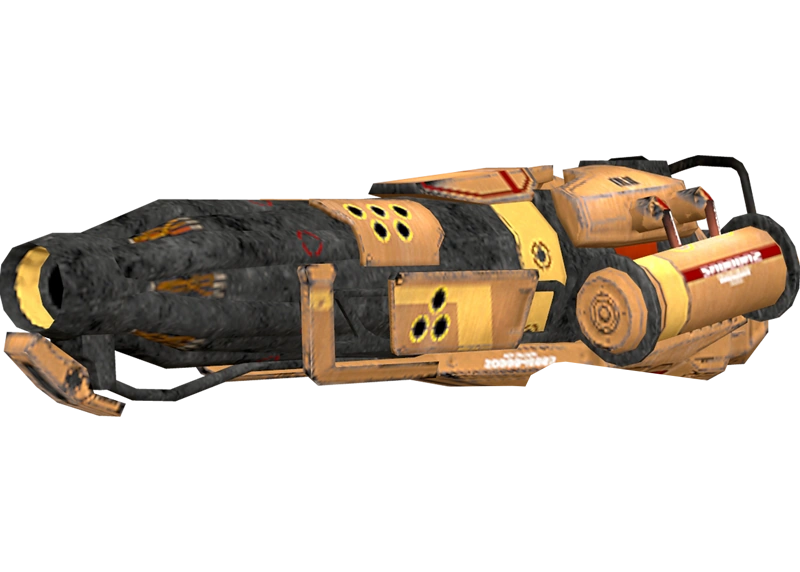
Weapons that snipers will use for sniping include:
Heavy: Nashorn, Kang Dae, Trebuchet, Flux, Gauss
Medium: Weber, Ballista
Although the Trebuchet does more damage per shot and is more accurate due to the higher speed, the Nashorn's faster reloading time results in a higher damage per minute. The Kang Dae serves as an intermediate between the two.
Specializations:
- Sniper: Dictates enemy movement and protects beacons at range. E.g.: Treb Fury, Treb Butch, Gekko Patton, Jaeger
- Suppressor: Wears down especially dangerous midrangers and knife-fighters. E.g.: Nashorn/Gekko Natasha, Nashorn Fury/Carnage/Raijin
- Artillery: Suppresses enemies behind cover. E.g.: Zenoricum Natasha, Noricum Patton (not recommended)
Healers[]
Healers are robots that can heal both themselves and their allies. Healers are one of the most important roles since they can greatly increase a team's chances of survival. There are currently 5 robots with healing capabilities and 3 healing Titans. The robots are: Mender, Demeter, Weyland, Tyr, and Nightingale. The healing titans are Sirius, Heimdall, and Nodens. Each mech heals in its own unique way. They should be one of the most prioritized targets. Leaving them alone will make it harder for your team to take down the enemy. Protecting your team's healer is equally important. Please note that most healing robots cannot completely heal back all health. The maximum is 80% of the damage that you take.
Mender and Tyr are best used as brawlers. Both are capable of surviving at the front line. Mender can project 7 healing pulses, and have a speed boost and damage resistance at the same time. Tyr can switch from projecting a healing circle (support mode) to activating its additional weapons and a physical shield at the cost of sacrificing speed (assault mode). When switching from assault mode to support mode, Tyr projects 1 healing pulse in addition to the healing circle.
Weyland is best used as a defender. When repair mode is activated, Weyland raises its hull and becomes stationary. Weyland also casts out a large healing circle, along with receiving 15% resistance.
Nightingale is a very versatile healer. It can brawl, capture beacons effectively, and support from mid range. On the ground, it has great durability and decent firepower. When the Nightingale activates its ability, it will take flight, activate stealth, deactivates its weapons, casts a healing circle that heals allies below(and above), and fires a suppression beam similar to the Rayker.
Nodens is one of three Titans that can heal itself and allies. Along with the ability to suppress enemies from range without line of site, Nodens can "link" up to 3 teammates and heal itself and all three teammates at the same time. The "link" looks very similar to that of the Leech's repulse, except the color is different. (Nodens is green). The Nodens is best used a support Titan and should be in the back line.
Tactics[]
It is important to know your surroundings and know what robot to start with (after your beacon capturing robot is destroyed). It specifically changes very much. These variables include:
-Number of robots that are active on your team
-Number of robots you have that are ready for spawning in
-The skills of you, your team, and the enemy team
-The movement of your team, and the enemy team
-Types of robots and weapons you and your team is up against
-The weapons you and your teammates have
-Map geography
-How urban it is
-Enemy positions
-Beacon ratio between allied and enemy beacons
-Control levels of the enemy and your team
-Roles being played
-Number of robots available to hold beacons (Domination)
Taking into Account[]
There are a lot of variables that you need to take into account before going in. Observe enemy movements in your sight using the red arrows. The red arrows do not appear if they are beyond 1130 meters. Do this while your capturing beacons in the beginning.
When you die, get into a mid ranger or knife fighting robot. If it's an open map (Like Yamantau), get into a sniper if you want. Capture beacons while softening and killing targets if you choose a knife fighting robot. After that robot is destroyed, get into another knife fighter. If you have a Carnage, it is best to wait until it's your last or second to last robot. You can use the Carnage's Thunders to finish off weakened targets and Rush to quickly move and capture beacons. Lancelot can also work. It is also good to have an Ancile on it.
When cornered, do not engage immediately. Wait for them to come into scope. That way, you land the first hits. If you have low health, try to escape and then lure it into the sights of your teammates where they will fire upon if they take notice. Then you can finish him off while distracted. If this isn't possible, try to damage it as much as possible. Then you can finish him off later or someone else kills him.
Snipers[]
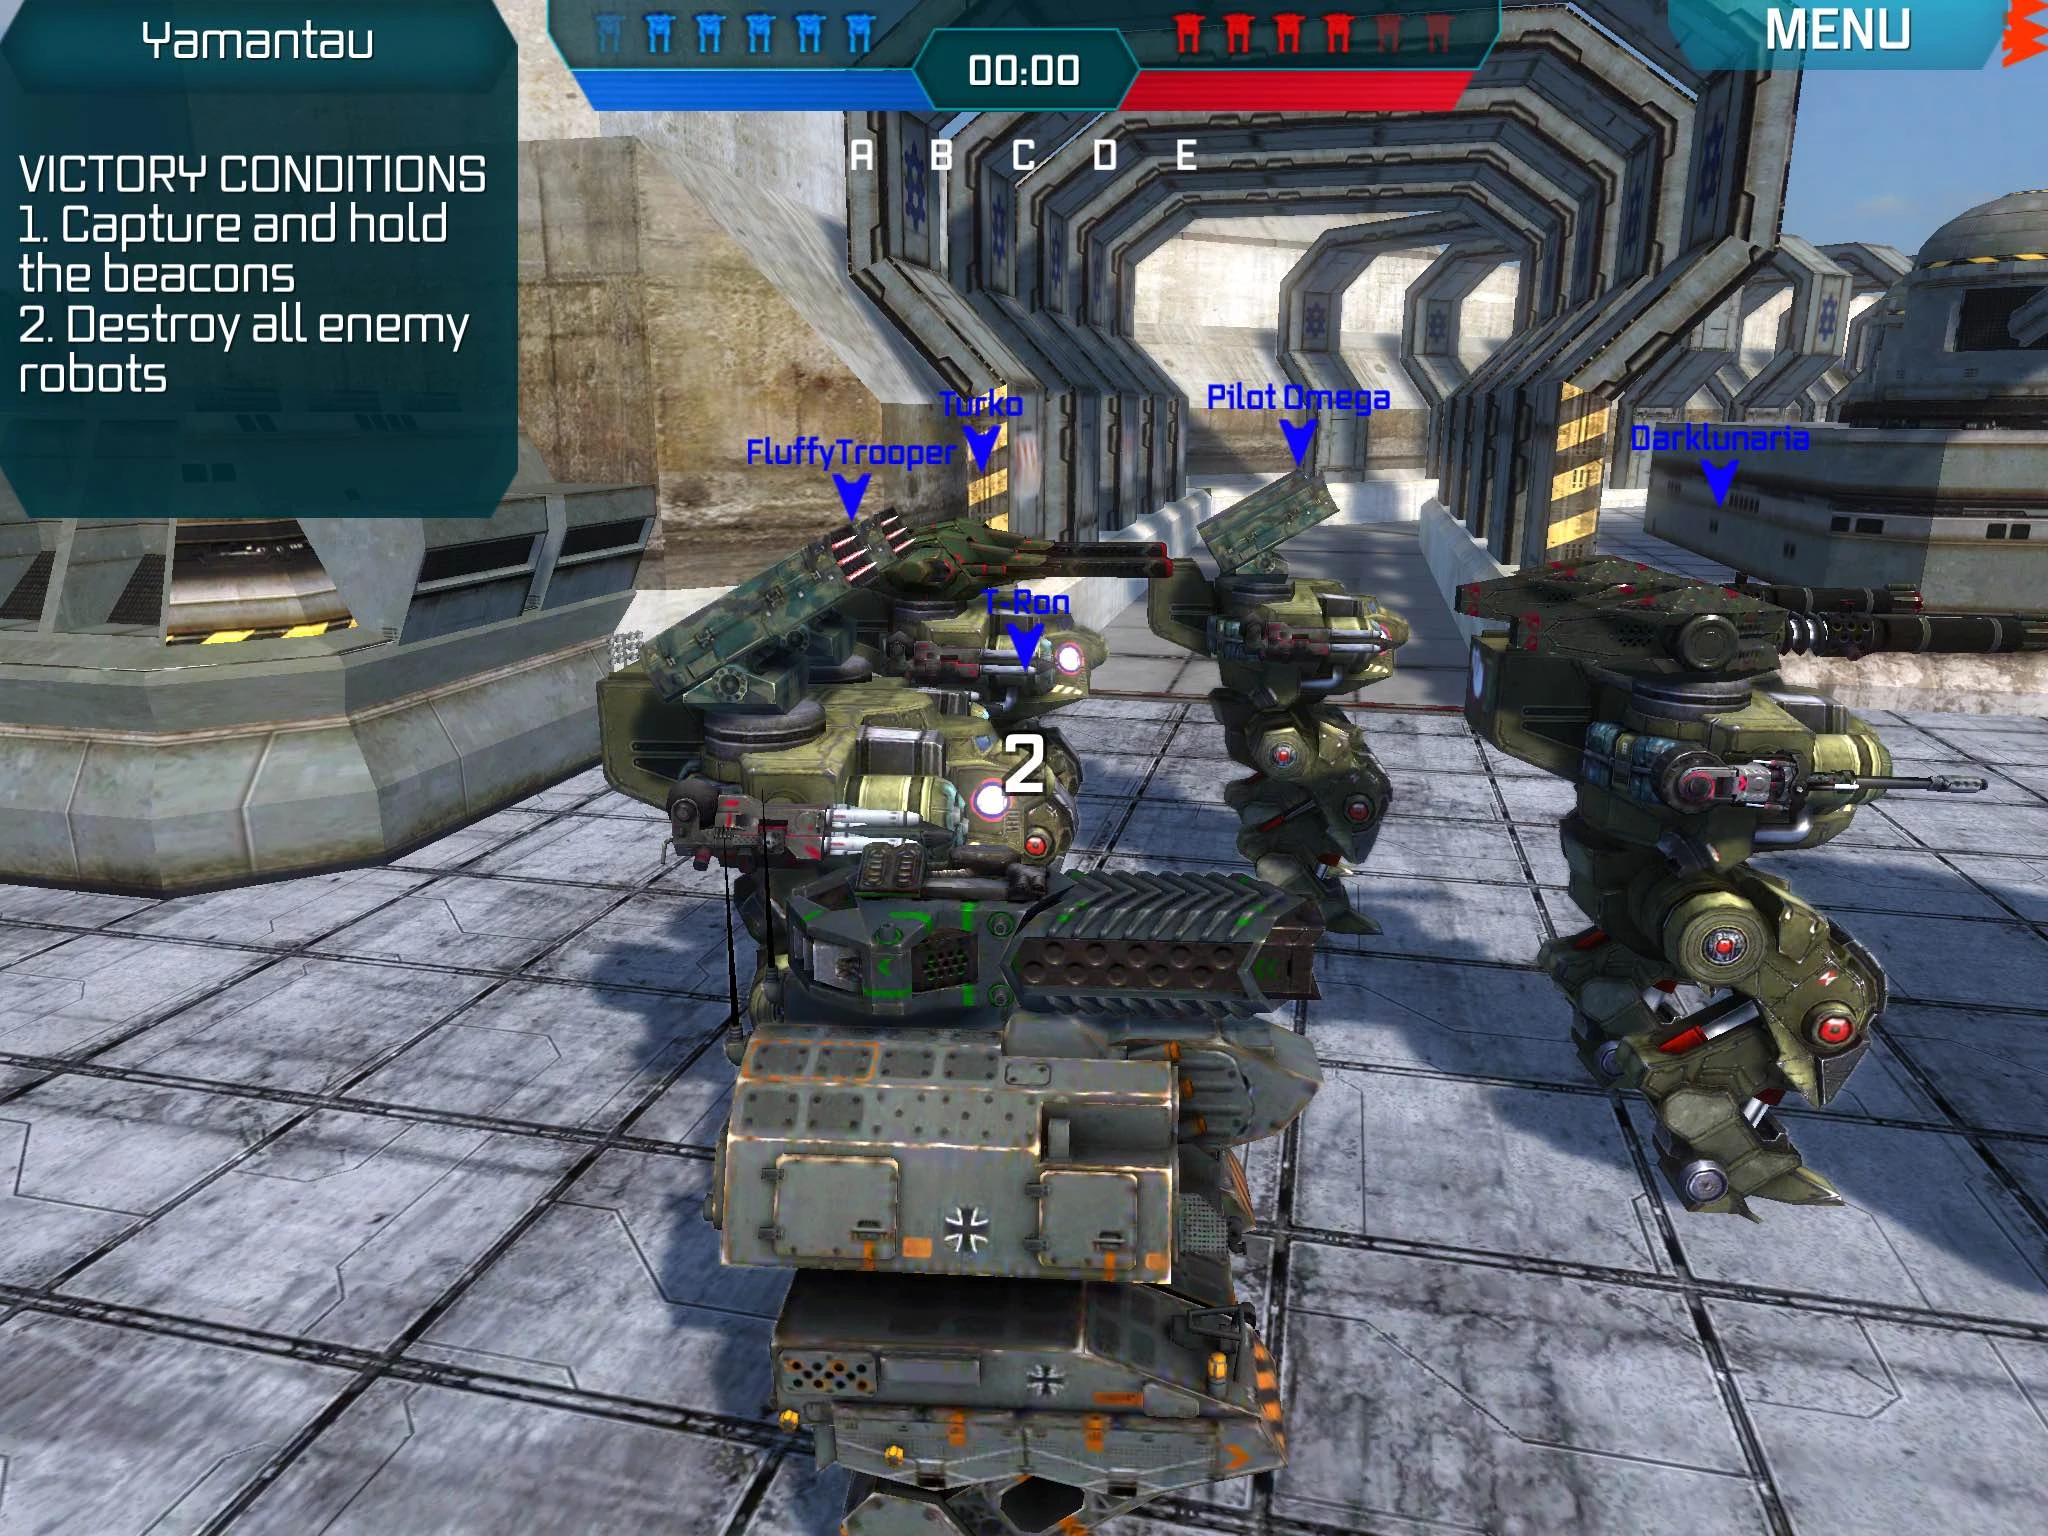
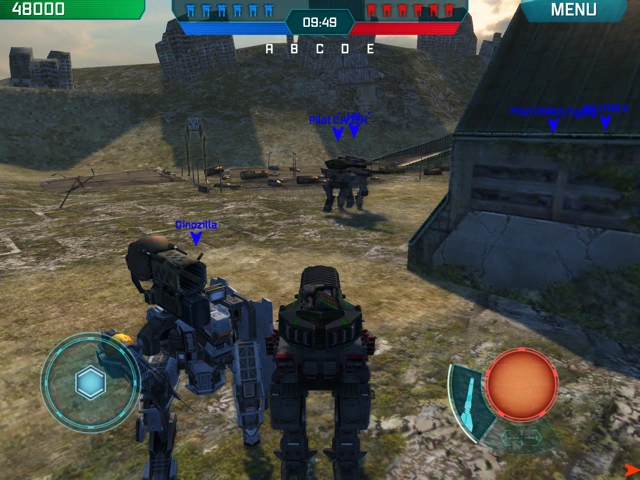
So, what do you see on Yamantau? Knife fighters? Thunders? Mayhem? Well, besides from the knife-fighters and mayhem, there are snipers. They usually come first or after beacon capturing is done. A typical sniper would have 2 Trebuchets and Gekkos. They usually stay and camp at a spot where they can get some good damage going.
As a Sniper[]
If you decide to play as a sniper role. It is important to be situationally aware. Occasionally, there are flankers that do manage to get to the other side (mostly light robots). If using a Trebuchet load-out, try to wait for at least 15 seconds before you can fire (Since the damage depends on the charge of the Trebuchet). If using it on Butch, wait until the Quick Draw cool down is done, fire your first set, use Quick Draw, and then fire your second set. This load-out takes patience though.
Against a Sniper[]
When dealing with a sniper, move while its distracted but it does not take notice of you. Try to avoid being a likely target and being close to a target. When moving towards the sniper, make sure your not being followed by the targeted robot or being near the robot, as the sniper will take notice of you. Take as much cover as possible. Once you are at the enemy's base, avoid the point of spawn, as new robots can spawn in at any moment. Walk behind the spawn so if there is a spawned player, he won't notice you since he is facing towards a target and you are behind him. Just make sure you far enough back or else you will appear in the enemy's FOV (field of view). Once you are sure there won't be anyone spawning in, advance towards the sniper and then wait. When he fires his shot, attack him.

Sniper platoon in older-version Yamatau
Attacking him before firing his shot can mean destruction of your robot or critical damage. Thunders and rockets are most effective against snipers.
If you are in Beacon Rush, capture a beacon near the sniper (while he is distracted) and then advance towards him. This is so when you die, you can spawn on the new allied beacon (If it wasn't captured before you died) and then finish him.
Against Jump Bots[]
Many robots have the powerful, useful, and possibly annoying jump ability or variations of it. When fighting against an opponent that has the jump ability, there are several things to consider. When did you see the opponent jump last? Griffins, Inquisitors, and Spectres have rather long jump cooldowns, so take advantage of that. Opponents will usually jump away from a knife fight if they are sustaining too much damage. Rockets in particular will have a hard time hitting a jumping bot. If the opponent jumps over you, hold your fire for a second until he comes into sight again as you cannot fire directly under yourself.
Situational Awareness[]
It is important to be aware of your surroundings when using certain robots (Like Carnage or Stalkers). Always look where the red arrows on your view is. If enemy beacons are left unguarded, take the opportunity to capture them and then optionally guard it.
Also be aware of light robots tasked with beacon capturing. Destroy them as soon as possible for an advantage in battle.
Sometimes, if you want, beacon swap. Try to convince the robot tasked with beacon capturing to
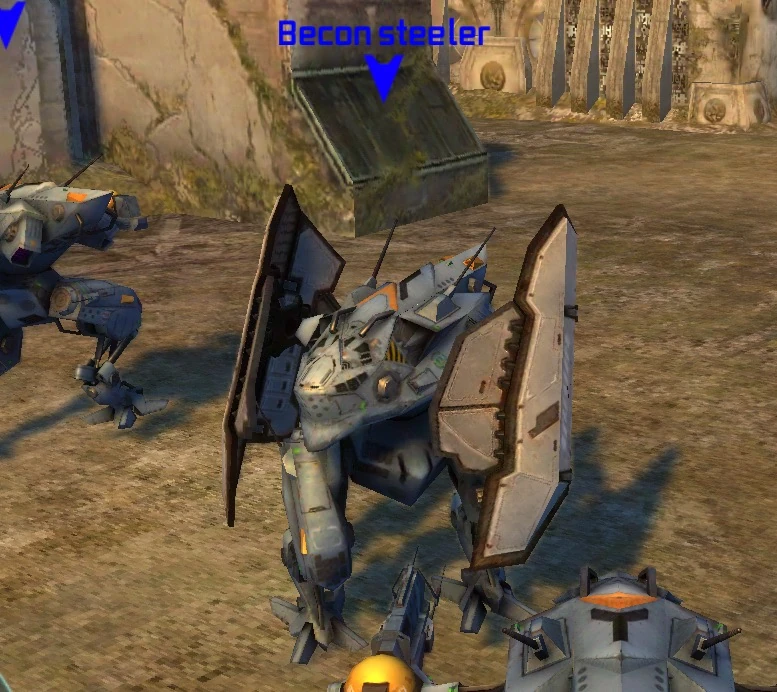

Light robot stalker tasked with passive beacon capturing
swap beacons. All you need to do is cycle between enemy and allied capturing. This however, may be against game rules of combat. But, It can bring you a good amount of gold.
Beacon capturing[]
Beacon capturing is one of the most common and most important roles when using light robot. Here are the types of beacon capturing:
Passive: Player ignores threats and goes straight for a beacon. They are typically armed with some sort of protection
Indirect: Player goes for beacons but avoids threats. Player does not attack/retaliate. Also usually armed with some sort of protection.
Hostile: Player goes for beacons and attacks any enemy that comes close. These robots are heavier robots such as Rogatka or Gareth. They are armed with rockets and rapid-firing weapons.

Thunder Schutze and a Gareth tasked with beacon capturing, being hostile against enemies
Semi-Passive: Player goes for beacon but only attacks enemies if they threat the player. Can be done by lights or more heavier robots. Robots such as Cossack are armed with Taran or Orkan for retaliation. It is possible that they have both some sort of protection and weapons.
The Korean Faction robots (Kumiho, Haechi, and Bulgasari) can complete all of these types of beacon capturing. Kumiho is recommended for this due to the dash cool down (5 second cooldown time) and the 2 medium hardpoints. The most common loadout is 2x Orkans, which can be very deadly if the Kumiho is irritated and decides to attack.
Holding beacons[]
It is important to hold certain beacons. To be more specific, you must hold the center beacon. This tactic is crucial to:
On other maps, you must hold the center beacon and protect the flank beacons. It is crucial to do this in:
This is easy in beacon rush but domination limits the ability to hold these crucial beacons. It's important to have a steady flow of reinforcements, while having some robots stationed on flank beacons. Keep in mind that on maps like Yamantau, beacon rush makes holding center beacon easy. Protecting flank beacons is also easy, as there is ramps to quickly block enemies from taking home beacons. On Canyon, home spawn is close to a flank beacon, so it is easier to reinforce and capture the flank beacon.
Energy weapons[]
Unlike kinetic weapons, they bypass energy shields. Ancile shielded robots (Ex. Carnage) have lower than usual HP pool, making them vulnerable. Energy weapons include Magnum, Taran, Zeus, Scourge, Shocktrain, and Trebuchet. All of these weapons are energy and bypass an Ancile shield no problem.
Zeus, Trebuchet, and Taran are best against Ancile shielding. Taran is best for melee anti-Ancile, Zeus is best for anti-Ancile at mid-range (Best when paired up with others), and Trebuchet is best for dealing massive damage at long range against Anciles.

Anciles can be made stronger by adding another one. This does not affect the plasma's ability to go through so you shouldn't be too concerned about it.
When being an Ancile robot, avoid robots with Tarans and (almost) fully charged Trebuchets. If you meet a robot with magnums, they shouldn't be too much of a threat, however do not engage them for an extended duration. Pick targets with weak plasma or no plasma at all. Also target rocket artillery and kinetic snipers.
Ember[]
Unlike other current weapons, this weapon both bypasses physical and energy shields. When meeting an Anciled or physical shielded robot with this weapon, you should not be worried about their shielding, as the Ember's flames bypass physical and energy shields. Embers are the most effective game-play weapon because:
-Bypasses both energy and physical shields
-Appreciable damage
-Can sustain fire for a period of time
-Quick reload
-Can be mounted on popular robots such as Carnage, Lancelot, Fury, Golem, Raijin, or Butch.
One thing you need to keep in mind is that the speed of the flames compared to other weapons is very slow. When dealing with fast robots, make sure you predict the robots movements and aim the ember ahead of the enemy to make the flames hit. Also keep in mind:
-Not a specialized knife-fighting weapon (As Thunders, Orkans, Redeemers, Dragoons, etc. can outgun it)
-Low projectile speed
-Not everyone can get one
Rockets[]
Among as a favorite on many pilots, Orkans are a must in high leagues. If you have one, mount it on a Gareth for a hit and run along with a protection. If you have 2, you can use a favorite build, Death Button or DB. It is a build that is a Griffin with 2x Orkans and Pinatas. Tulumbases and Pins have moderate splash, so use it to damage enemies hiding around corners. A popular build is a favorite among Russian players: the Russian Death Button. This build trades sheer burst damage for far more range. Pinatas can be mounted on Natasha or Leo for burst damage.
Use rockets to:
-Kill robots such as Galahad or Lancelot
-Quickly annihilate enemies
-Soften up targets for knife fighters
-Getting top damage
-Gold farming
Keep in mind that:
-Somewhat quick unload time
-Long reload time
-Vulnerable once on fire-on-reload
-Having low range when using Orkans
-No sheer knife-fighting firepower when using the RDB
-Moderate rocket speed
Team Deathmatch[]
Unlike beacon rush or domination, there are fewer variables. All you need to take account is:
-Robot count
-Skills of your team and enemy team
-Number of robots you have ready to spawn in
-Weapons you and others have.
-Types of robots on your team and the other team
-Roles being played (Excluding beacon capturing)
Usually in Team Deathmatch, players hulk it out until one team is down to one robot. If you want to prepare for being the last one standing on your team, consider the following:
If You Are In A Heavy Robot[]
If its a knife fighting robot, try and pick off the enemy robots one by one. If your damaged, deal as much damage as you can. If you have a Griffin, have at least one DB and PDB Griffins PBD Griffin is a priority
since you will meet Anciles. If you have Natasha or Fury, get a Thunder one (Fury with an ancile on). A sniper one won't work if your team is down to one robot unless the enemy team is very low in HP. If you have Leo, get 3 Pinatas and a Thunder. If your in a sniper, kill the least HP robots.
If You Are In A Medium Robot[]
If your in a Gl. Patton, It should have 4 Pinatas for burst damage. If you want, you can mount 4 Arbalests for a mini Trebuchet sniper. If its a Carnage, it should have Thunders or Zeues. If its any Dashbot, it should

have Orkans or Shocktrains. Like the heavy robot strategy, pick off enemy robots one by one.
If You Are In A Light Robot[]
Run. light robots don't have the HP and firepower to deal with bigger robots. hit and then run. Aphids, Gusts, Magnums, and Arbalests would be good.
Dealing With Pay2Win Players[]
Pay2Win (or p2w) players are players who pay money to get overpowered gear and don't have any actual skill in game. However, they are very dangerous due to the fact they have overpowered gear. They usually have:
- Hawk
- Scorpion
- Mk2 12 equipment
- Maxed Modules
- Ao Mings with Gendarme/Cuirassier or Cyclone/cataclysm
- Maxed Legendary Pilots
- Boosterd
- Other high meta robots.


Ha, who has the skill now?-A Pay2Win player
They appear in:
- Late Silver league
- Gold
- Diamond
- Expert
- Master
- High in Champion League(especially in S clan)
The following ways are how to deal with them:
- Group up with others and then attack the p2w player. Be wary of the Shocktrains bouncing and firing at full power. A simple way to avoid this is having buildings between you or simply staying 150m away or more from allies.
- If you're face-to-face, flank him and avoid the Shocktrains. When he is distracted, deal as much damage as possible. If its a Haechi, get into the shield and then shoot if you don't have any plasma.

Nope, you don't deserve that beacon!-Non-Pay2Win player, I have the skill
- If you're alone, avoid him and do not attack. Bait him towards allied robots and make them fire upon the player, and then finish him
- If you're truly alone, don't fight. If he does manage to get to you, deal as much damage as possible.

Old content